
Contouring has evolved from a professional makeup artist's secret weapon to an essential skill in every beauty enthusiast's repertoire. When done correctly, contouring can enhance your natural bone structure, create balance, and bring harmony to your facial features. However, the key to flawless contouring lies in understanding your unique face shape and applying techniques specifically designed for it.
At Open Contour, we've trained countless clients in the art of contouring, and today we're sharing our professional techniques tailored for each face shape. Whether you have a round, square, oval, heart, or diamond-shaped face, these expert tips will help you achieve perfectly sculpted features.
1. Determining Your Face Shape
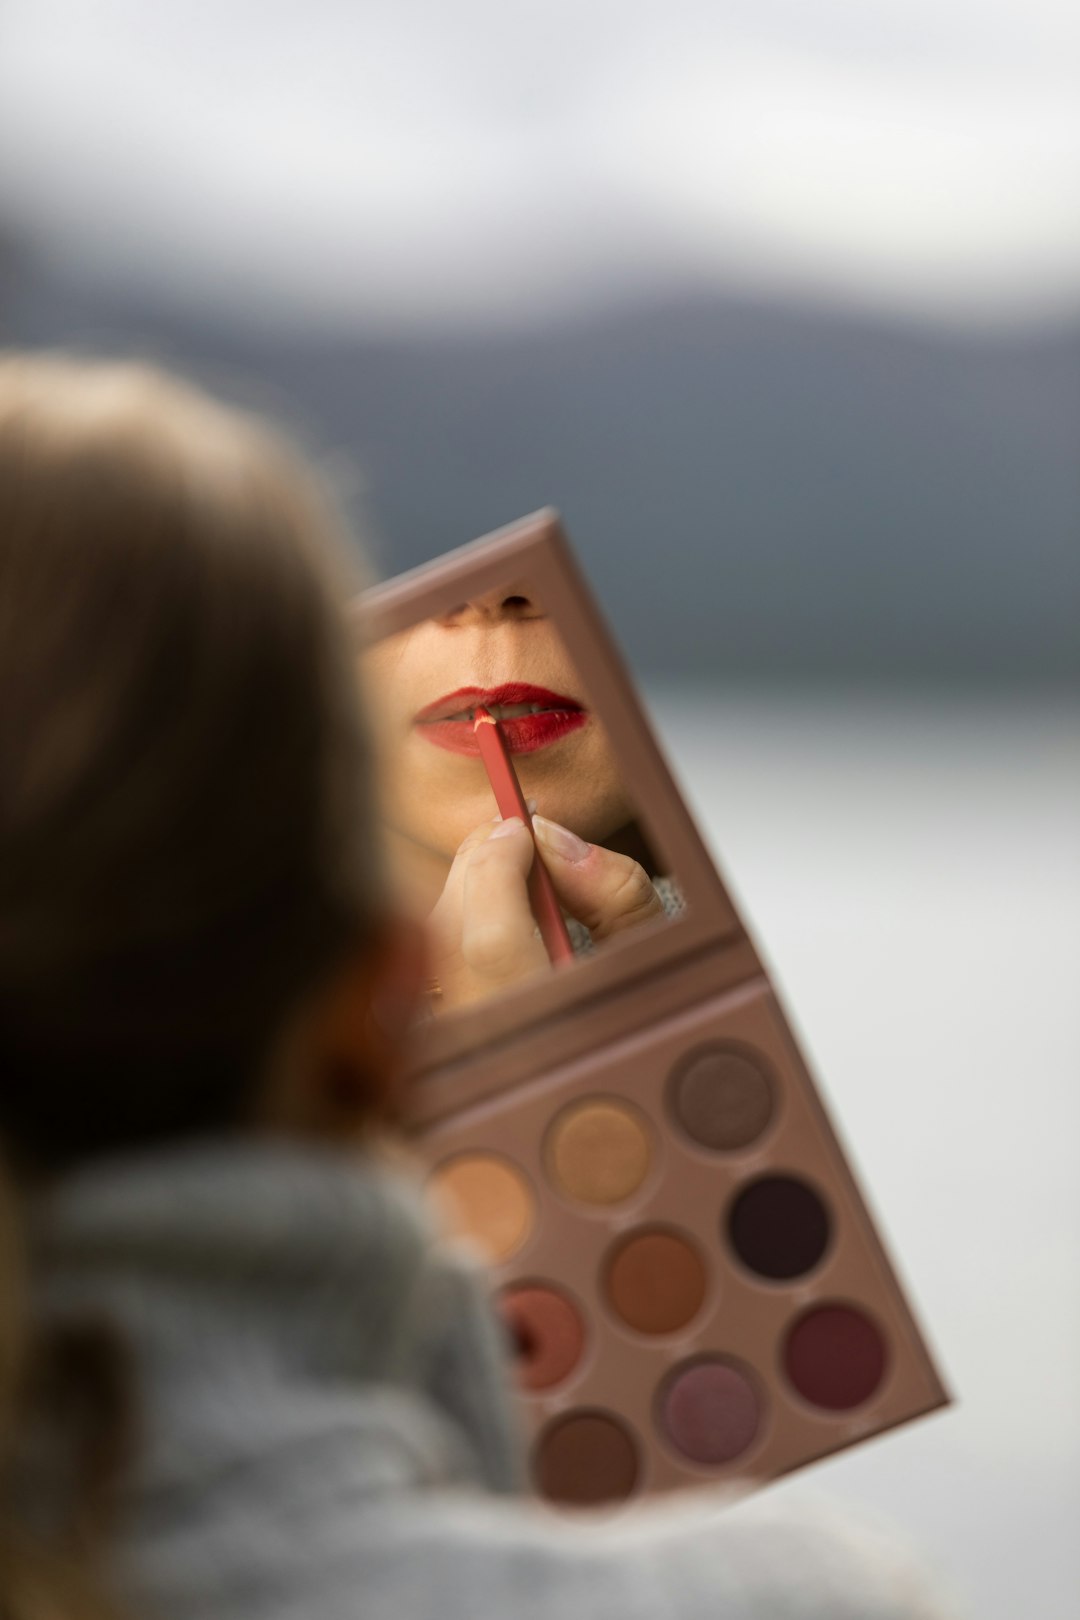
Before you begin contouring, it's crucial to identify your face shape. Pull your hair back and stand in front of a mirror in natural lighting. Observe the width of your forehead, cheekbones, and jawline, as well as the length of your face compared to its width.

Use this guide to help determine your face shape before beginning your contouring routine.
Common face shapes include:
- Oval: Forehead is slightly wider than the chin, with gently rounded jawline
- Round: Nearly equal width and length with soft, circular features
- Square: Strong jawline with forehead, cheeks, and jaw nearly equal in width
- Heart: Wider forehead and cheekbones with a narrow chin
- Diamond: Narrow forehead and chin with wide cheekbones
- Oblong: Face length is greater than width with straight cheek lines
2. Contouring Products and Tools
The right products and tools make all the difference in achieving a natural-looking contour. Here's what we recommend:
For beginners: Cream contour sticks or palettes are forgiving and blend easily. Look for shades that are 1-2 tones darker than your natural skin tone with neutral or cool undertones (warm shades can look muddy).
For advanced users: Powder contours offer more precision and are excellent for oily skin types. They're also ideal for setting cream contours.
Essential tools: A dense, angled brush for precise application, a fluffy blending brush for seamless edges, and a damp beauty sponge for softening harsh lines.

Professional-grade contouring products and tools for flawless application.
3. Contouring Techniques for Each Face Shape
Oval Face
The oval face is considered the most balanced shape, so contouring should be subtle to maintain its natural harmony.
Technique: Lightly contour along the hairline to minimize forehead height if desired. Add subtle definition under the cheekbones, blending towards the ears. A touch of contour along the jawline can add definition without changing the face's natural proportions.
Pro tip: Oval faces can experiment with more dramatic contouring for evening looks since the balanced proportions can handle stronger definition.

Subtle contouring enhances the natural balance of oval faces.
Round Face
The goal for round faces is to create angles and the illusion of length to balance the face's soft circular shape.
Technique: Contour heavily along the sides of the forehead and temples to visually narrow this area. Apply contour in a diagonal line from under the cheekbones towards the corners of the mouth to create definition. Add contour along the jawline and beneath the chin to elongate the face.
Pro tip: Keep highlight concentrated down the center of the face (forehead, nose, chin) to enhance the lengthening effect.

Angular contouring creates definition on round face shapes.
Square Face
For square faces, we aim to soften the angular jawline and minimize the width of the forehead and jaw.
Technique: Contour along the hairline and temples to minimize the forehead's square appearance. Apply contour directly below the cheekbones in a rounded motion to soften angles. Focus extra contour on the jaw's corners to round them out. Highlight the center of the chin to draw attention away from the jaw's width.
Pro tip: Blend contour thoroughly along the jawline to avoid obvious lines that can emphasize squareness.

Softening contour techniques for square face shapes.
Heart Face
Heart-shaped faces need contouring to balance the wider forehead with the narrow chin.
Technique: Contour along the sides of the forehead and temples to reduce width. Apply contour in a curved line beneath the cheekbones, blending towards the hairline. Lightly contour the chin's sides to make it appear wider. Highlight the chin's center to bring it forward visually.
Pro tip: Avoid contouring the point of the chin, as this can make it appear even narrower.

Balancing contour for heart-shaped faces.
Diamond Face
Diamond faces require contouring to minimize the width of the cheekbones and balance the narrow forehead and chin.
Technique: Contour along the hairline to create the illusion of a wider forehead. Apply contour directly below the cheekbones' prominence, blending upwards. Lightly contour the chin's point to soften it. Highlight the center forehead and chin to bring them forward.
Pro tip: Keep cheek contour higher than you might think—applying it too low can emphasize the diamond shape.

Contouring to soften diamond face features.
Oblong Face
For oblong faces, the goal is to create width and visually shorten the face length.
Technique: Contour along the hairline's top to minimize forehead height. Apply contour horizontally under the cheekbones (rather than diagonally) to create width. Avoid contouring the jawline or chin, as this can lengthen the face further. Highlight the cheeks' apples to emphasize width.
Pro tip: Blush applied horizontally across the cheeks can further enhance the widening effect.

Width-creating contour for oblong face shapes.
4. Blending: The Secret to Natural-Looking Contour
No matter your face shape, blending is the key to seamless, natural-looking contour. Here are our professional blending techniques:
For cream products: Use a damp beauty sponge to bounce and press the product into the skin. Always blend upwards to prevent product from settling into fine lines.
For powder products: Use a fluffy brush with a light hand and circular motions to diffuse edges. Build intensity gradually rather than applying too much product at once.
Universal tip: After blending your contour, apply your foundation or a light layer of translucent powder over the edges to further soften the transition.

Proper blending techniques make the difference between harsh lines and natural shadow.
5. Highlighting to Complement Your Contour
Highlighting works in tandem with contouring to complete your face sculpting. Here's how to pair them effectively:
For all face shapes: Highlight the high points of your face where light naturally hits—the brow bones, cheekbones, bridge of the nose, cupid's bow, and center of the chin.
Face shape adjustments:
- Round faces: Concentrate highlight in a vertical line down the center of the face to enhance length
- Square faces: Highlight the center of the forehead and chin to draw attention away from the jaw's angles
- Heart faces: Highlight the chin to balance the wider forehead
- Oblong faces: Highlight the cheeks' apples to create width
Product selection: For daytime, choose subtle liquid or cream highlighters. For evening looks, powder highlighters with more intensity can add glamour.

Strategic highlighting completes your contouring for a dimensional, radiant finish.
6. Common Contouring Mistakes to Avoid
Even seasoned makeup lovers can fall into these contouring pitfalls:
- Using the wrong shade: Contour products should mimic natural shadows—stick to cool or neutral tones that are 1-2 shades darker than your skin. Warm tones can look like dirt or bruising.
- Over-contouring: The "Instagram contour" is too heavy for real life. Build intensity gradually and remember that subtlety is key for daytime.
- Poor blending: Harsh lines are a dead giveaway of amateur contouring. Always spend extra time blending edges.
- Ignoring your face shape: Applying the same contour pattern regardless of face shape can throw off your natural proportions rather than enhance them.
- Forgetting to set: Cream contours need to be set with powder to prevent smudging, especially in warm weather.
7. Products We Recommend
These professional-grade products will help you achieve flawless contouring:
- Best cream contour: Fenty Beauty Match Stix Matte Skinstick - blendable and perfect shade range
- Best powder contour: Kevyn Aucoin The Sculpting Powder - universally flattering cool tone
- Best contour palette: Anastasia Beverly Hills Contour Cream Kit - multiple shades for custom blending
- Best budget option: NYX Professional Makeup Wonder Stick - great quality at drugstore price
- Best contour brush: Sigma Beauty F80 Flat Kabuki Brush - perfect for cream products
- Best blending sponge: Beautyblender Original - the gold standard for seamless blending
Mastering contouring for your specific face shape can transform your makeup routine from basic to professional-level artistry. Remember that practice makes perfect—don't be discouraged if your first attempts aren't flawless. With these techniques and a little patience, you'll be sculpting like a pro in no time.
For hands-on guidance with your unique facial structure, consider booking a personalized contouring lesson with one of our visagiste experts. We'll analyze your face shape and teach you custom techniques to enhance your natural beauty.

About the Author
Isabella Martinez is a senior visagiste at Open Contour specializing in facial sculpting and corrective makeup techniques. With over 12 years of experience in film, television, and editorial makeup, she has transformed hundreds of faces using her expert contouring methods. Isabella is passionate about teaching clients how to enhance their unique features through proper makeup application.
Share this article
You May Also Like
2024 Spring Makeup Trends You Need to Try
Discover the hottest spring makeup trends for 2024, from glowing skin to bold color statements.
Read More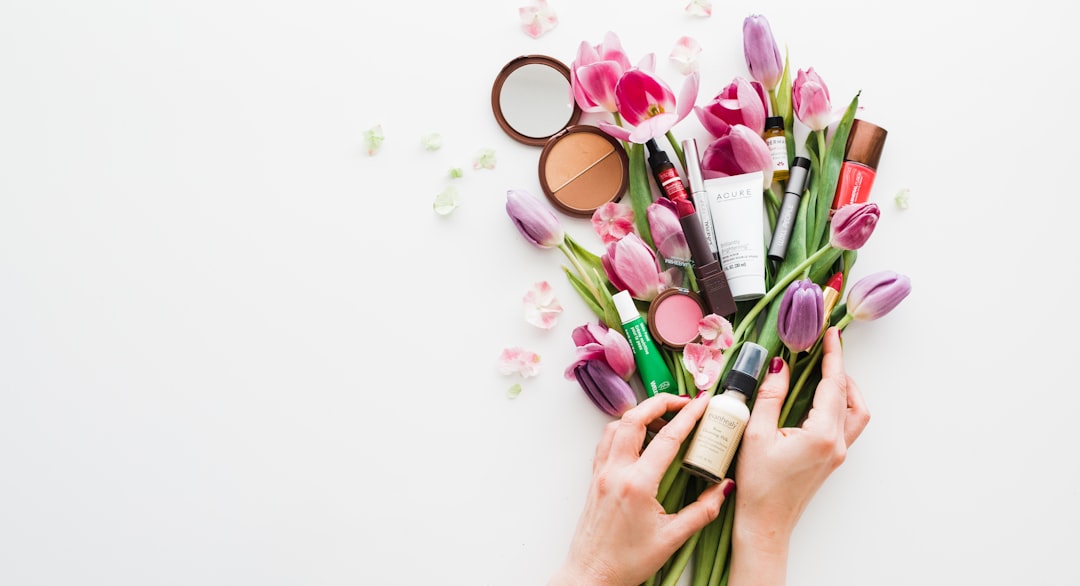
The Ultimate Guide to Makeup for Different Skin Types
Learn how to adapt your makeup routine to perfectly suit your unique skin needs.
Read More
Sustainable Beauty: Eco-Friendly Makeup Brands We Love
Discover our favorite brands that deliver stunning results while caring for our planet.
Read More
Comments
Jessica Taylor
May 11, 2024This is exactly what I've been looking for! I have a square face shape and could never figure out why my contour always made my jaw look even more angular. The technique you described for softening angles worked perfectly. Do you have any recommendations for cream contours that blend easily for beginners?
Isabella Martinez
May 11, 2024Hi Jessica! I'm so glad the square face technique worked for you. For beginner-friendly cream contours, I recommend the Fenty Beauty Match Stix (the shade "Amber" is perfect for fair to medium skin tones) or the NYX Wonder Stick. Both are creamy enough to blend easily but have enough pigment to show up. Start with light layers and build up gradually!
Amina Johnson
May 12, 2024Thank you for including oblong face shapes! Most tutorials only cover the basic shapes, and I could never understand why contouring my jawline made my face look even longer. The horizontal application under the cheekbones was a game-changer. My face finally looks balanced!